

Workflow
From Patientto Prosthesis.
A connected digital workflow for modern prosthetics.
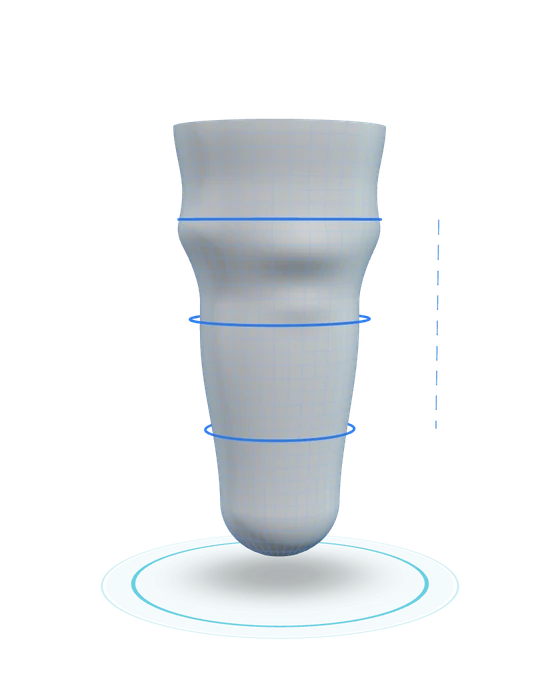
Assess
Understand the patient.
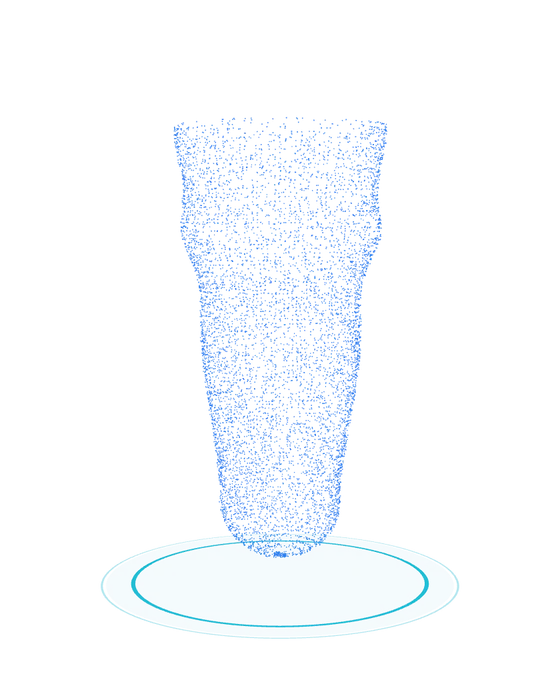
Scan
Capture the anatomy.
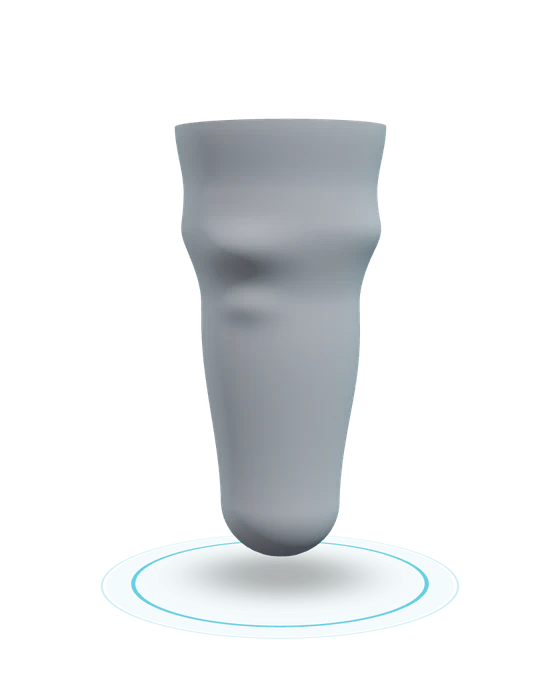
Model
Create the digital patient.
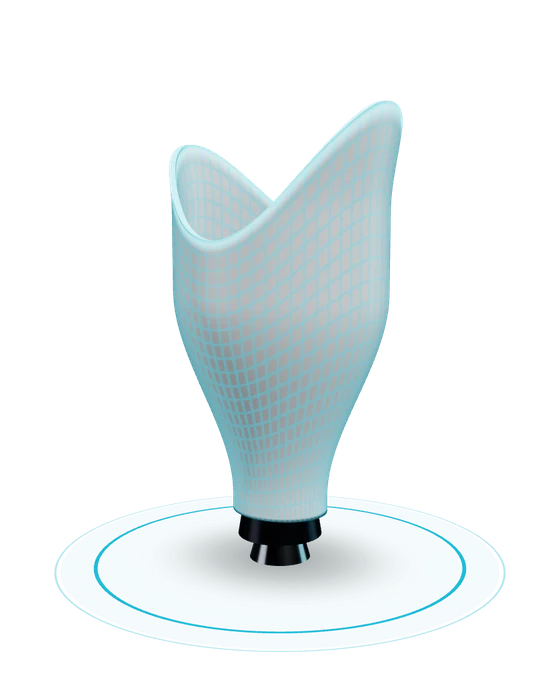
Design
Build the prosthesis digitally.
Modify
Apply clinical expertise.
Validate
Review before manufacturing.
Manufacture
Move from digital to physical.
Continue the Journey
The design becomes part of the patient's digital history.
Assess
Understandthe Patient.
Begin with the clinical information required for prosthetic design.
Patient information, measurements and clinical observations form the foundation of the digital workflow.
- Patient information
- Measurements
- Clinical observations
- Clinical notes
Patient profile
ID: P-1024
A. Petrov
42
Male
Clinical information
Transfemoral amputation — left side. Active lifestyle, daily use and light sports.
Activity level
Scan
Capturethe Anatomy.
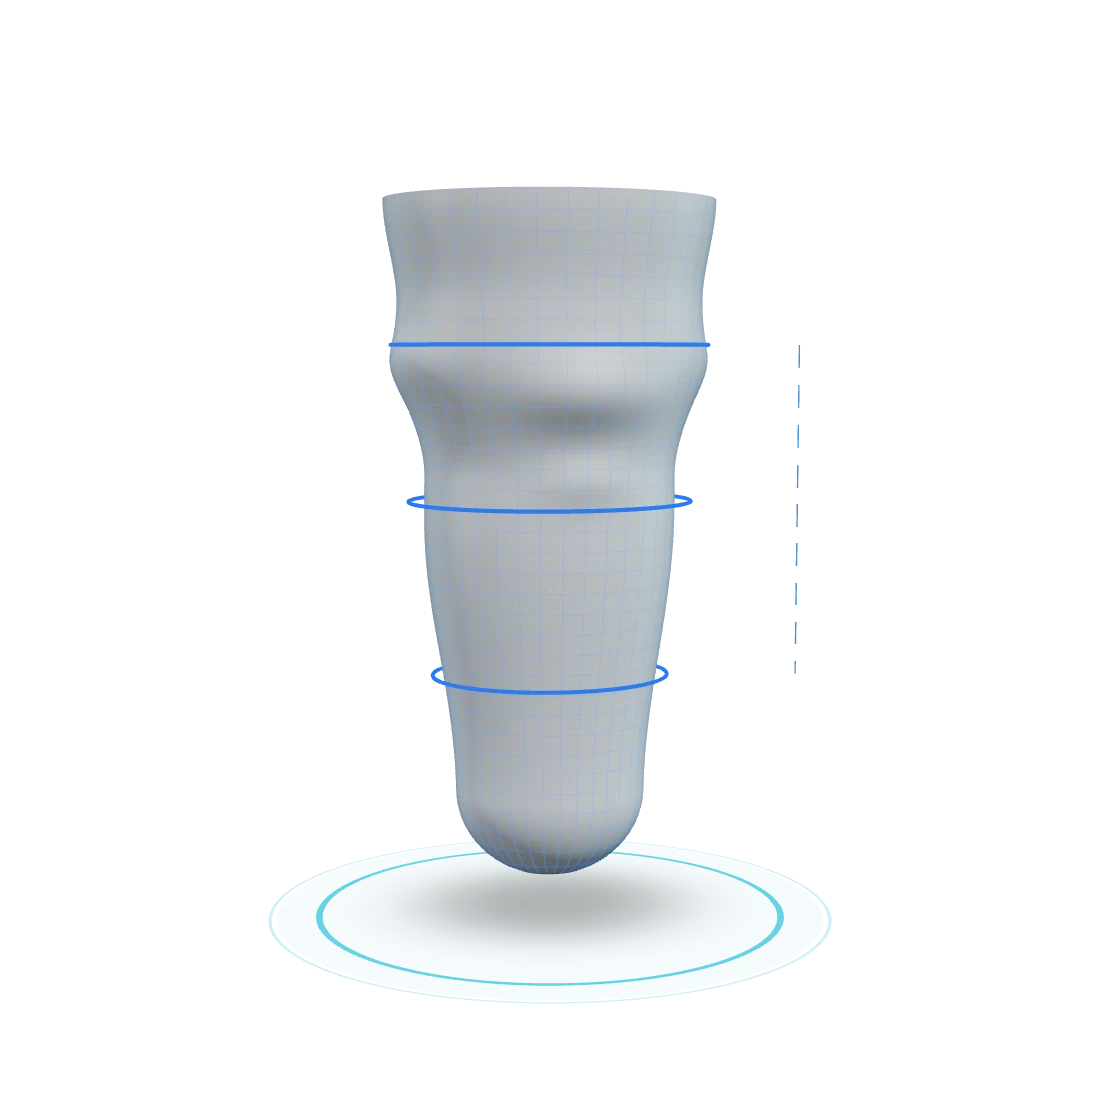
Create a three-dimensional representation of the patient's anatomy.
The digital model becomes the starting point for patient-specific prosthetic design.
- High-resolution 3D capture
- Accurate geometry and scale
- Fast and easy process
- Optimised for prosthetic design
Point Cloud
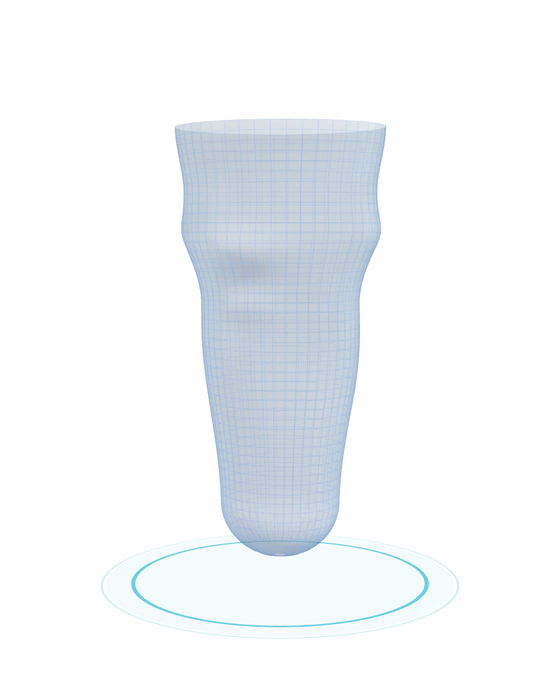
3D Mesh
Clean Model
Model
Create theDigital Patient.
Prepare the 3D anatomy for design.
Anatomical landmarks and relevant geometry can be established within the digital environment.
- Clean and accurate 3D model
- Identify anatomical landmarks
- Refine and process geometry
- Ready for prosthetic design
Raw Scan
Processed Mesh
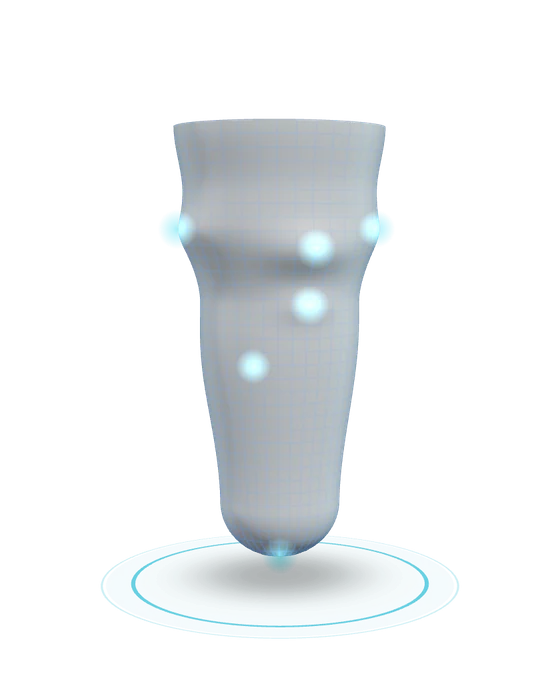
Landmarks
Clean Geometry
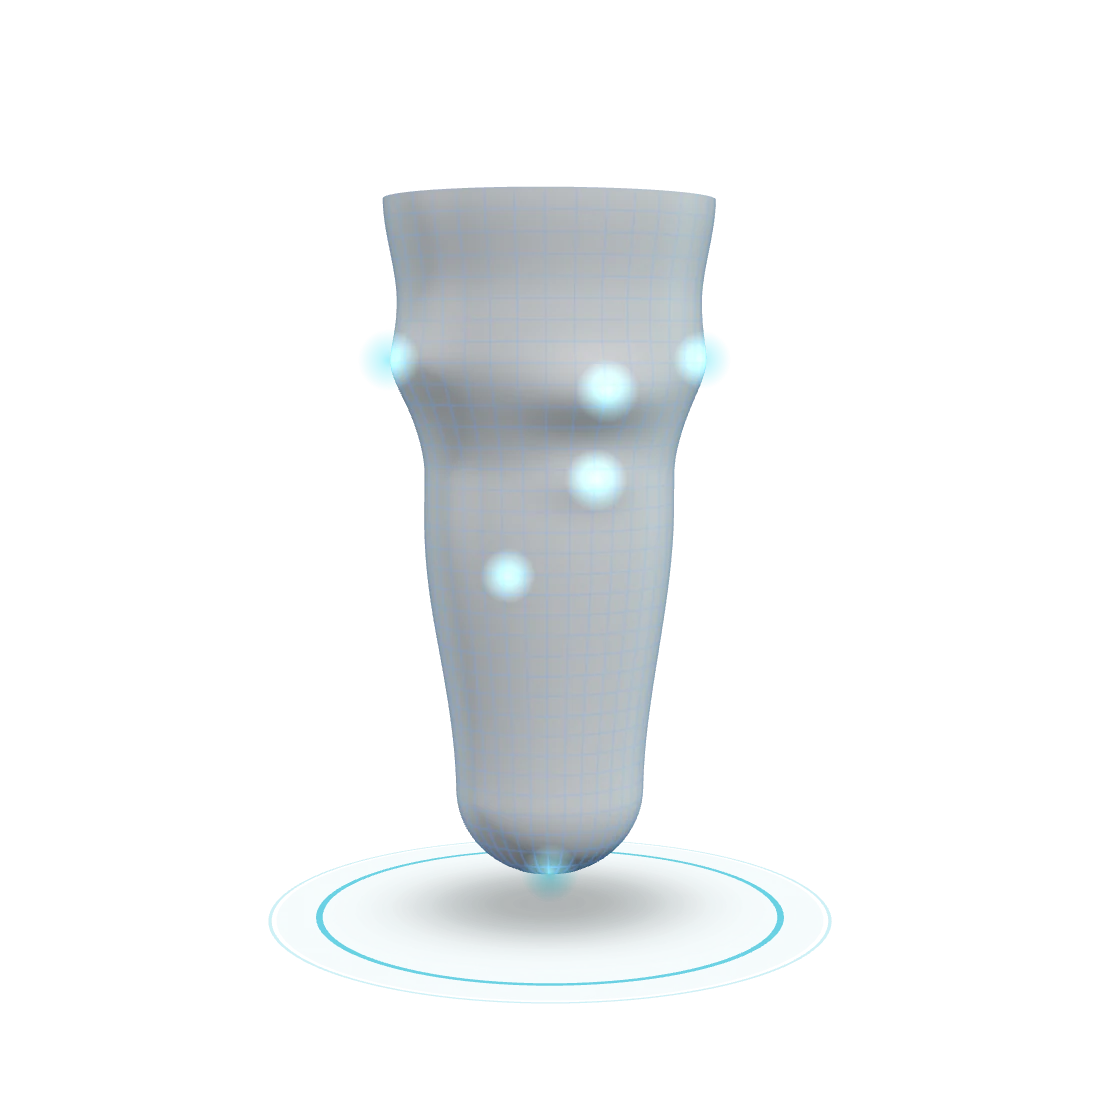
Anatomical Landmarks
Design
Build theProsthesis Digitally.
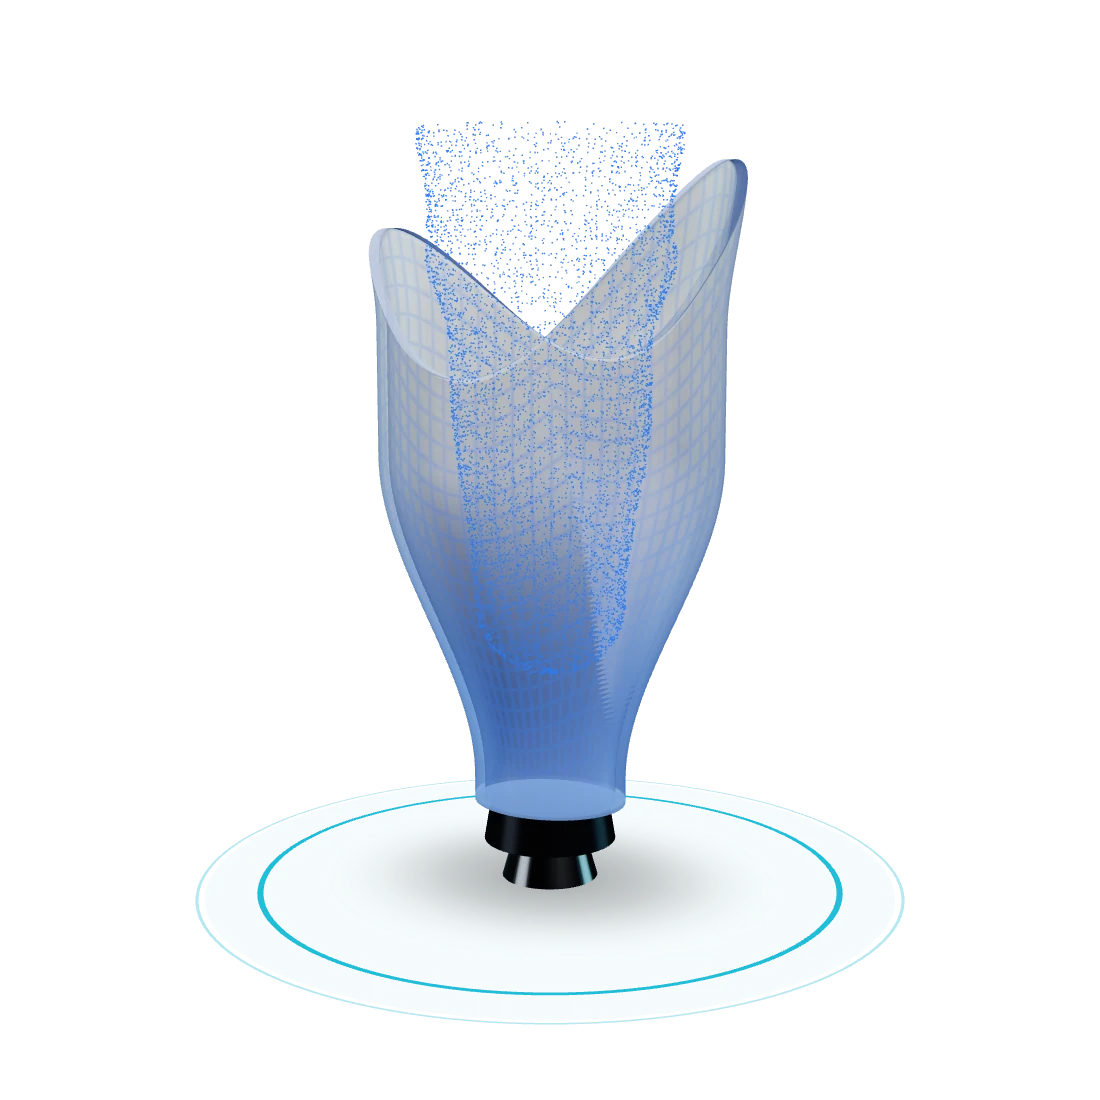
Create the socket around the patient's anatomy and clinical requirements.
The prosthetist works directly with the 3D model rather than relying exclusively on physical modification.
- Patient-specific design
- Adjust dimensions and shape
- Define thickness and relief zones
- Set trim lines and boundaries
Patient Anatomy
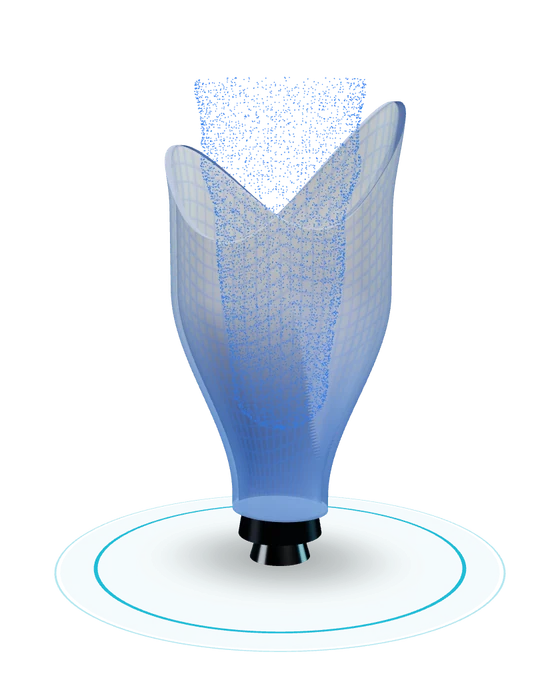
Aligned Geometry
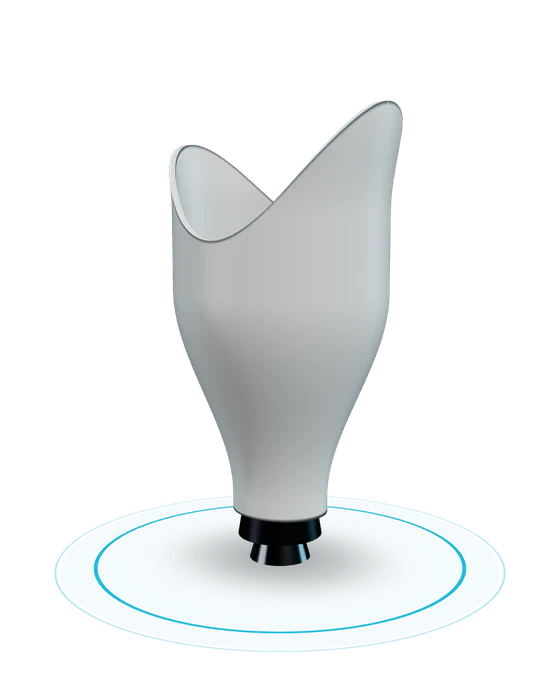
Initial Socket
Socket Design
Modify
Apply ClinicalExpertise.
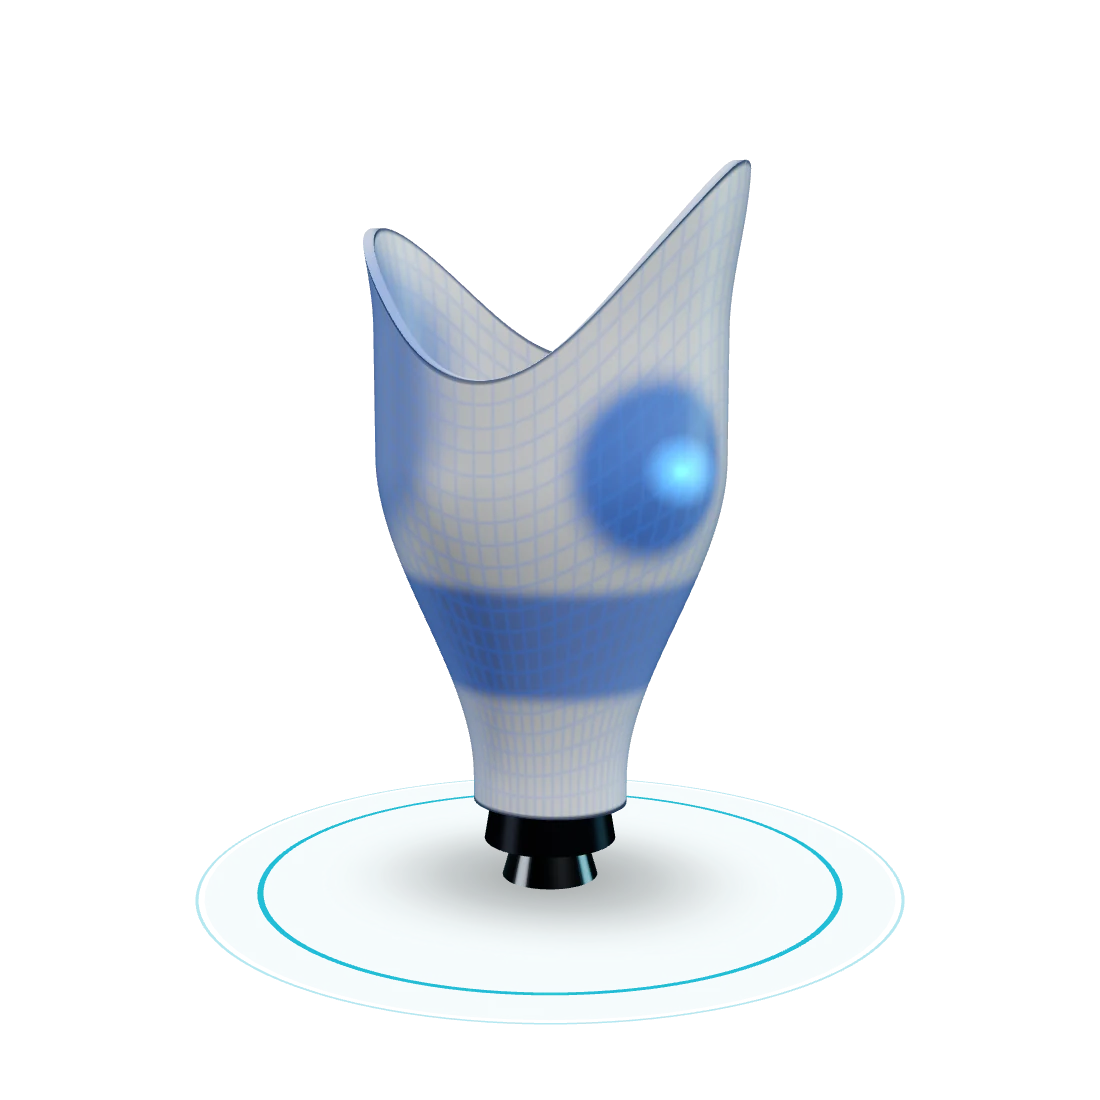
Modify the design according to clinical requirements.
- Reduction.
- Relief.
- Pressure.
- Trim lines.
- Alignment.
The clinician remains in control.
Modification Tools
Validate
Review BeforeManufacturing.
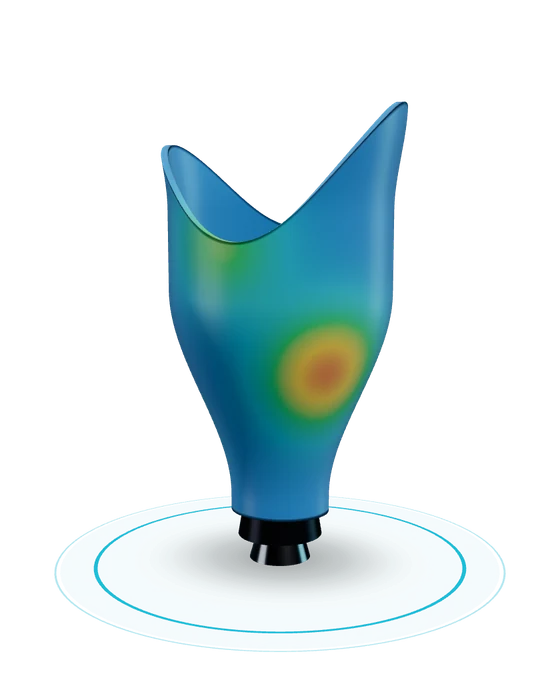
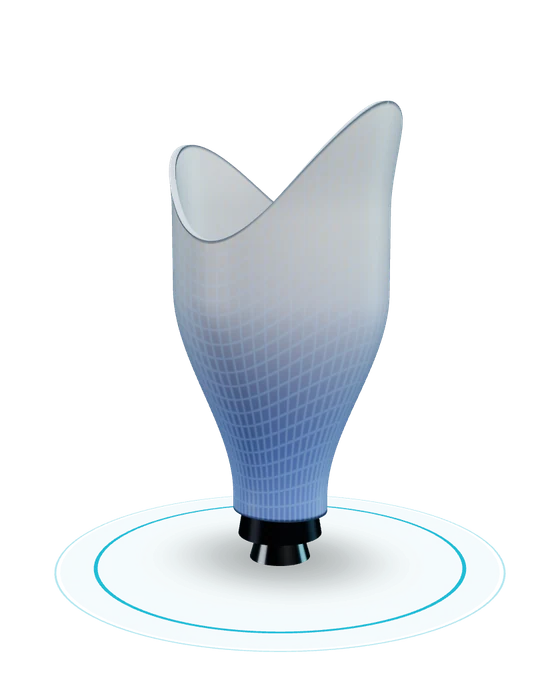
Validate the design for fit, function and clinical performance.
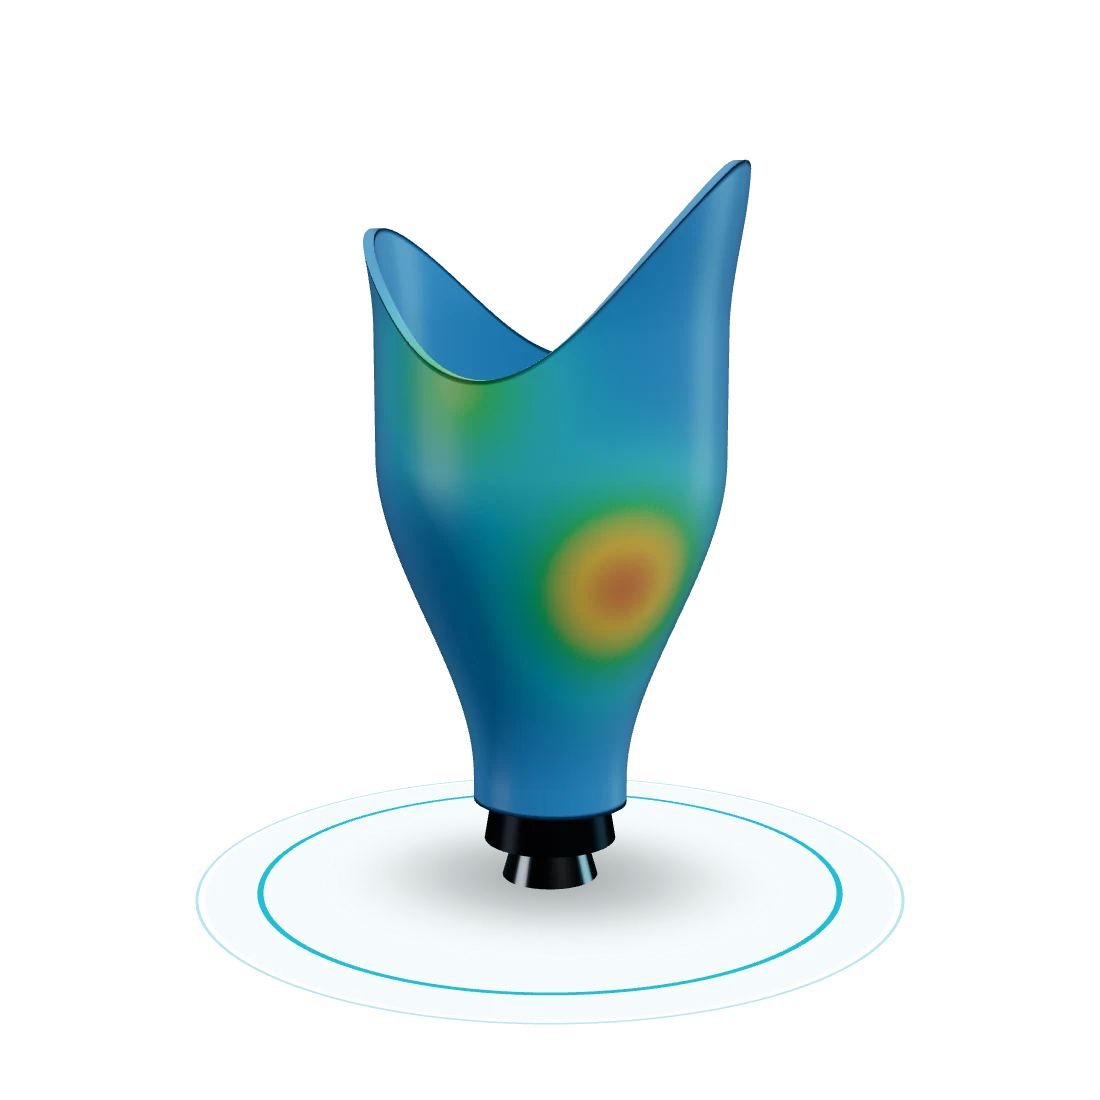
Use analysis tools to check comfort, pressure distribution and range of motion before manufacturing.
- Pressure analysis and visualisation
- Fit and alignment verification
- Range of motion check
- Confident transition to manufacturing
Pressure Analysis
Fit Check
- Proper fit
- No conflict
- Uniform contact
- Within tolerance
Range of Motion
Manufacture
Produce theFinal Prosthesis.
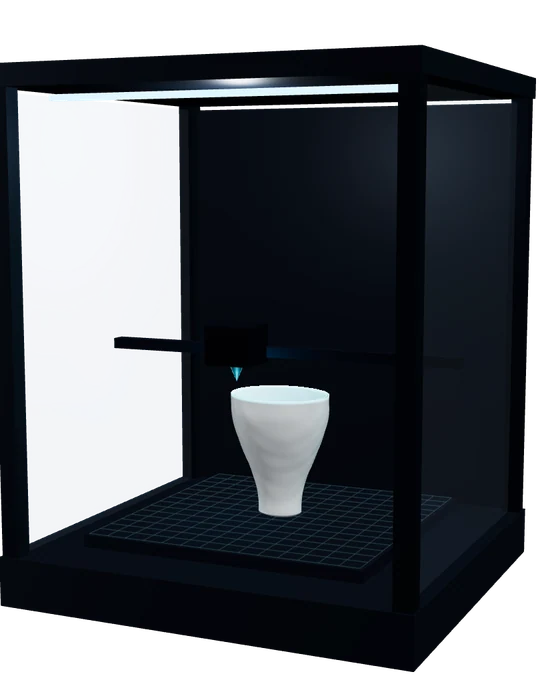
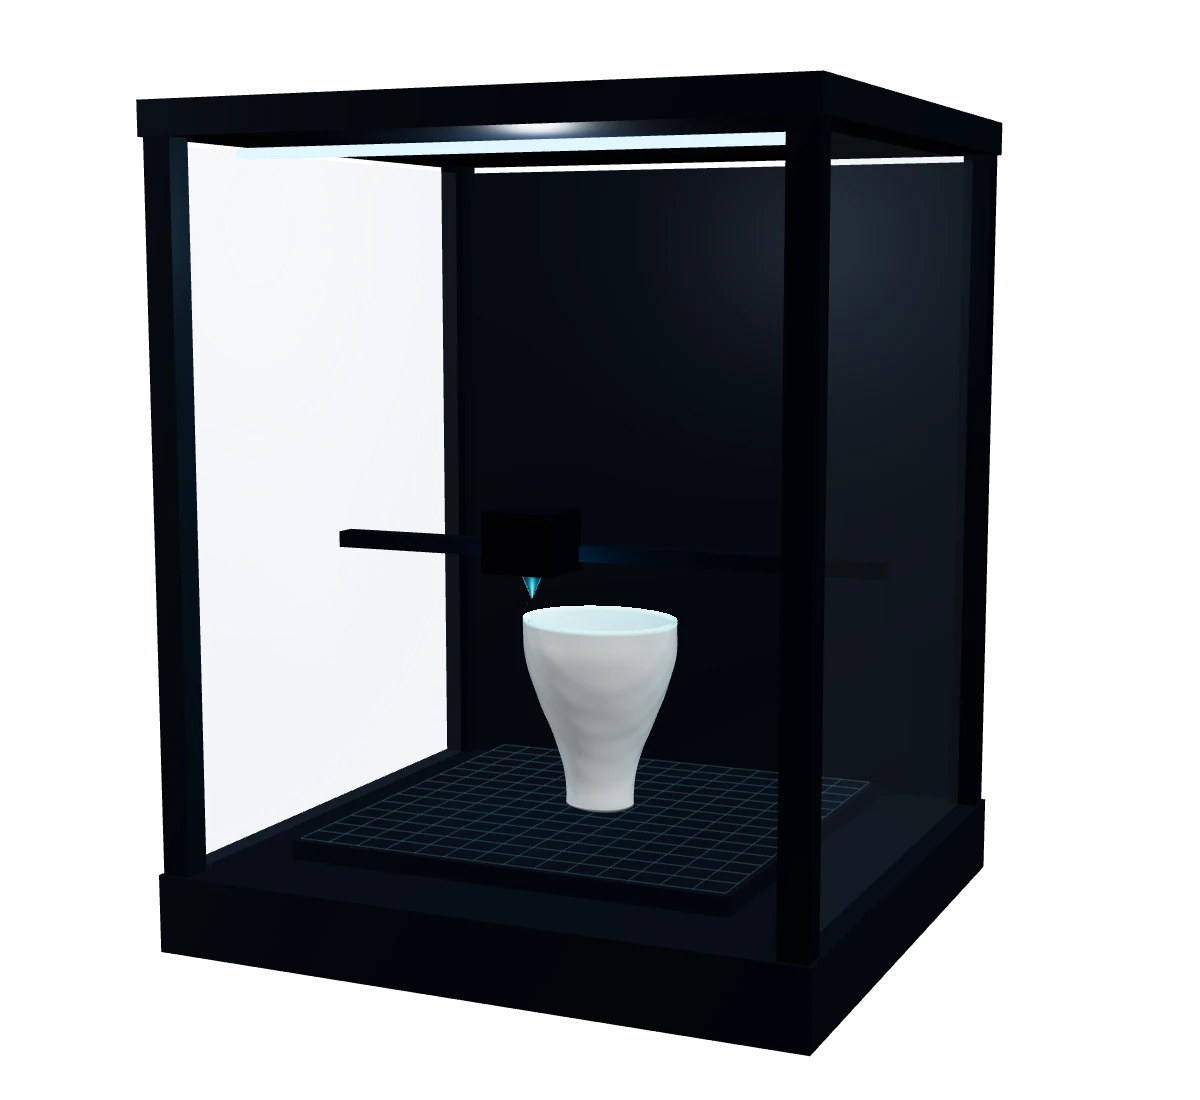
Manufacture the customised prosthesis using advanced fabrication technologies.
The validated design is manufactured using 3D printing and post-processing to ensure strength, comfort and durability.
- High-precision manufacturing
- Durable materials
- Post-processing and finishing
- Ready for fitting and use
The digital transformation
The Design Becomes Part ofthe Patient’s Digital History.
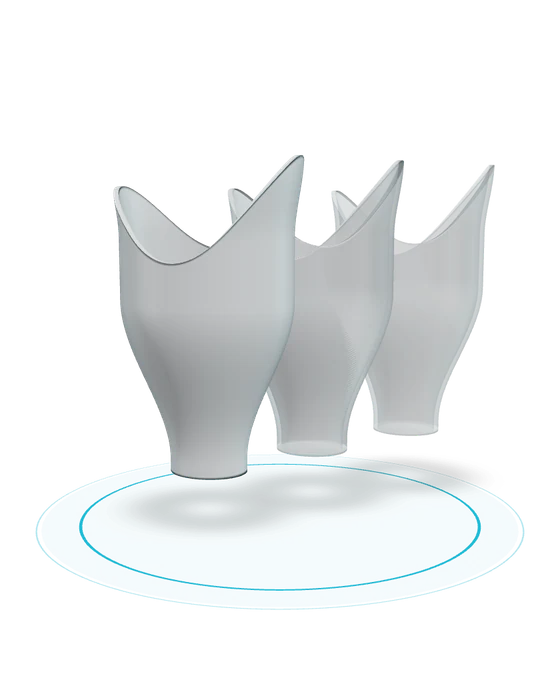
From scan to prosthesis, every step is recorded, validated and connected — creating a complete and continuous digital record for better care, tracking and outcomes.
- Scanned data
- Validated design
 Final prosthesis
One patient. One connected flow.
One patient. One connected digital workflow.
Better design. Accurate manufacturing. Improved outcomes. All in one ecosystem.
- End-to-end digital workflow
- Secure patient data history
- Better clinical outcomes
- Scalable for clinics and manufacturers